
Table of Contents
- Introduction
- Supplies You'll Need
- Installation Video and Step-by-Step Instructions
- How to Change Inserts
- Troubleshooting Tips and Customer Support
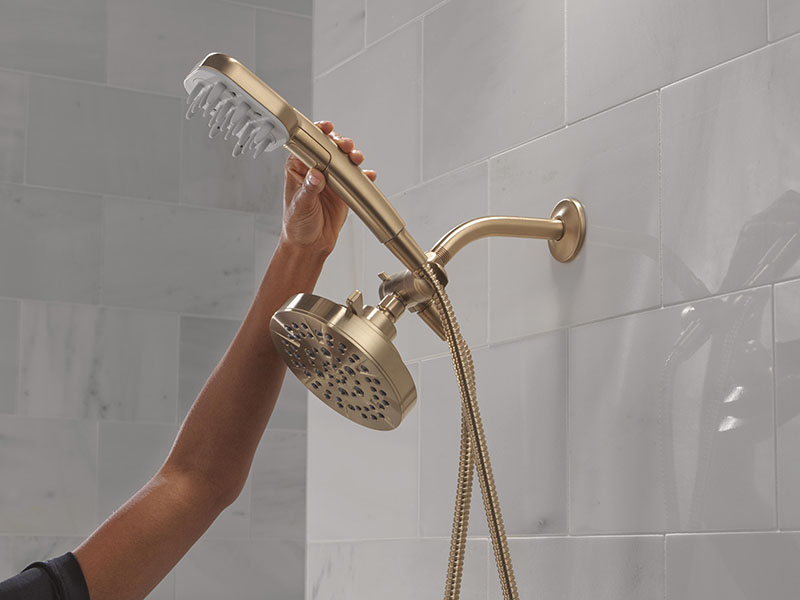
If you're looking for a way to make wash day easier, faster, and more refreshing, the Delta® VersaCurl™ Detangling Shower Tool is about to become your new best friend. Designed specifically for detangling and rinsing curly hair, this tool works alongside your regular shower head (not as a replacement) to personalize your wash day routine. As an added benefit, the tool is compatible with the Delta Clarifi™ Shower Filter attachment—an easy upgrade to help reduce the chlorine in your shower water.
These step-by-step instructions will guide you through every step of the VersaCurl™ tool installation process, ensuring your shower setup is ready for a curly hair transformation.
Supplies You'll Need
Installation is easy, but having these supplies on hand will ensure it goes smoothly:
- Delta® VersaCurl™ Detangling Shower Tool kit (includes diverter, hose, and mounts)
- Adjustable wrench (optional, but helpful with stubborn shower heads)
- Clean, dry towel
- Soft cloth
- (Optional) Delta® Clarifi™ Shower Filter attachment
Installation Video and Step-by-Step Instructions
Check out the installation video for a visual walkthrough and follow the key steps below. But before you get started, place a towel on the tub or shower floor to protect it—just in case a tool or part accidentally falls while you're working.
Step 1: Remove Your Shower Head
Begin your installation by removing your existing shower head. Simply hold the shower arm steady and twist the shower head off. If it feels a bit stubborn, you can use an adjustable wrench to loosen the nut—just be gentle and cover it with a soft cloth to avoid scratching the finish. Don't worry if a little water comes out; that's totally normal.
Step 2: Install the Diverter & Mount
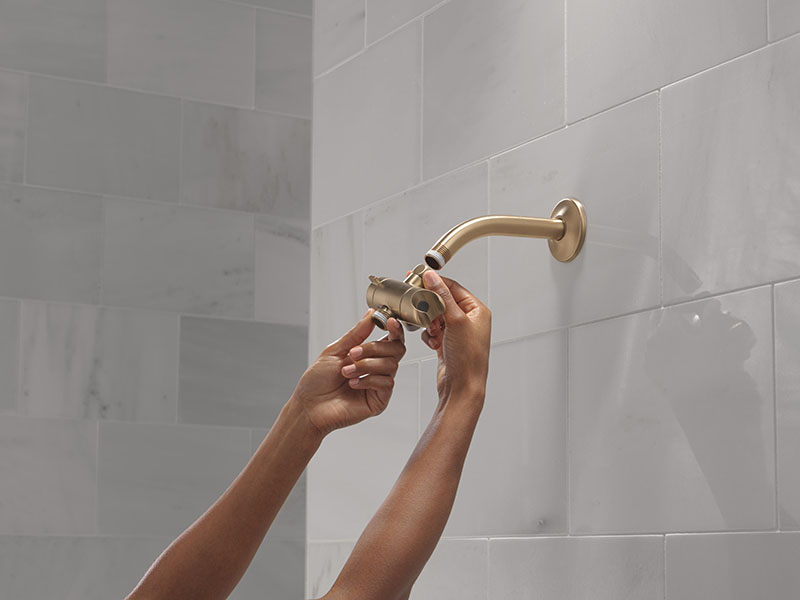
Next, it's time to install the diverter, which is the key to switching water flow between your regular shower head and the VersaCurl™ tool. Before you start, make sure to remove any old plumber's tape and clean the shower arm threads for a secure fit. Check that the gasket is in place, then hand-tighten the diverter onto the shower arm (no tools required!) and make sure the hose outlet is facing down.
Installation Tip: The diverter works with most shower heads and hand showers that weigh less than 5 pounds, but keep in mind it's not compatible with 2-in-1 showers or adjustable shower arms.
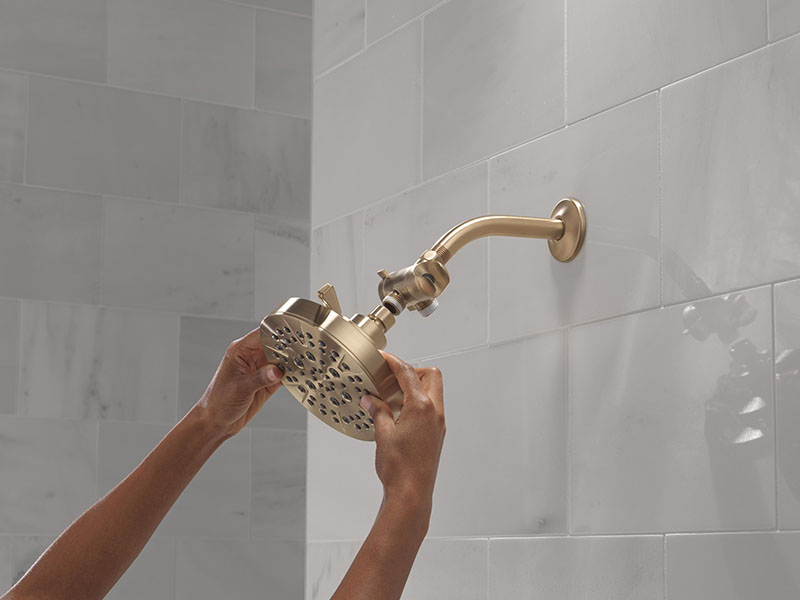
Step 3: Reinstall the Shower Head
Once the diverter is installed, it's time to put your shower head back on. Make sure the gasket is inside the shower head and hand-tighten it onto the diverter until it feels secure.
Step 4: Connect the Hose
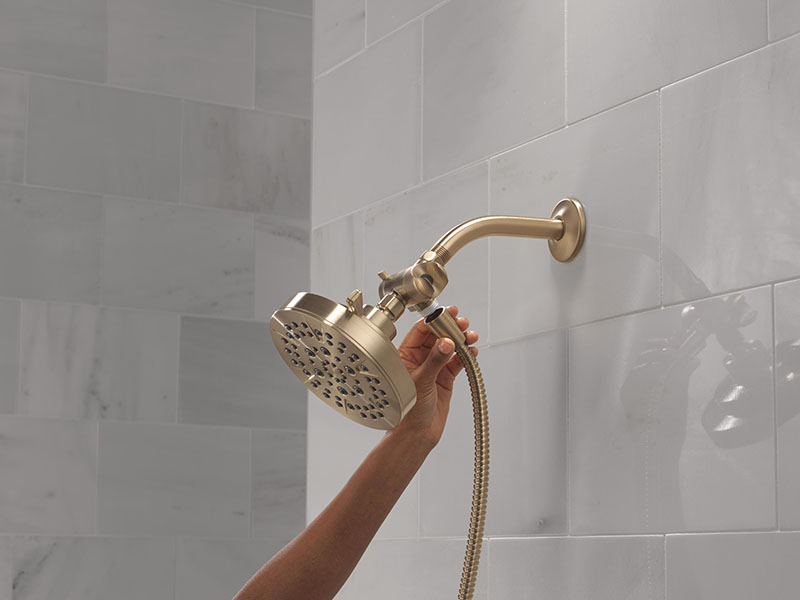
Next, it's time to connect the hose. Again, check for gaskets in the ends of the hose. Attach one end of the hose to the diverter and the other end to the VersaCurl™ tool, hand-tightening both connections for a snug, leak-free fit. This flexible hose is what brings the detangling power of the VersaCurl™ tool directly to your curls, making wash day easier and more effective. You can dock the device in the mount on the diverter or follow the next step to install the optional wall mount.
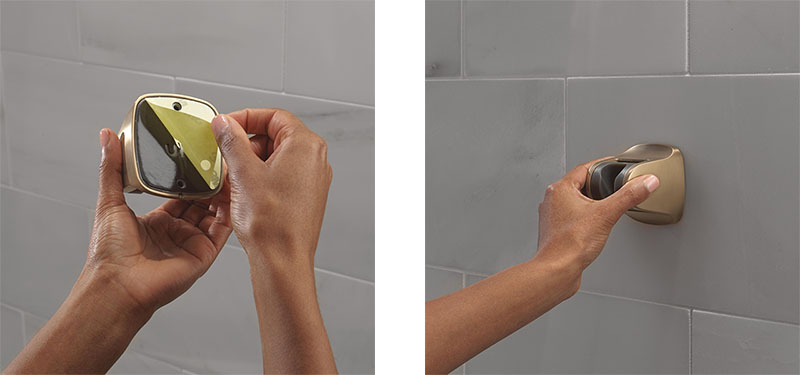
Step 5: Optional Wall Mount Placement
If you're using the wall mount, you have the freedom to place it wherever works best for you—whether that's at your favorite detangling height or higher up for taller curl friends. Before applying the adhesive mount, clean and dry the wall area thoroughly. On the back of the mount, you'll notice a sticker that says "up." Make sure that the mount is correctly positioned, remove the sticker, and press the mount firmly in place for about 30 seconds. Let it set for 12 hours before running any water or placing the VersaCurl™ tool on the mount. This customizable placement ensures everyone in your household can enjoy the benefits of the VersaCurl™ tool.
Step 6: Dock the VersaCurl™ Tool
With the mount in place, simply dock the VersaCurl™ tool in its holder, whether at the diverter or on the wall. This step is quick and easy, making your new shower tool accessible and ready for action whenever you need it.
Step 7: Check for Leaks & Test the Diverter
Before you test your setup, point the VersaCurl™ spray face downward to better control the spray and avoid splashing water. Then turn on the water, check for leaks at the connections, and test the diverter by flipping between your shower head and the VersaCurl™ tool. Once you're satisfied everything is working perfectly, your installation is complete.
How to Change Inserts
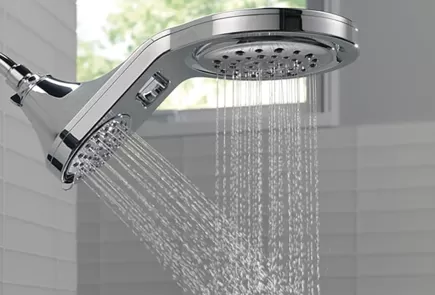
Your VersaCurl™ tool comes with 3 interchangeable brush inserts. When you want to change an insert, it's super simple. Just unlock, swap out the old insert for a new one, and lock it back in place. You can also change or pause the spray by pressing the button on the tool to cycle through the different spray settings. This flexibility lets you customize your shower experience for your unique curl needs. Try the various settings and inserts for several washes to find the combination that works best for your curls.
Troubleshooting Tips and Customer Support
If you're having difficulty, this Versacurl™ tool troubleshooting blog and these tips will help you troubleshoot like a pro:
- Leaking shower head? Check to make sure the gasket is in place and that all connections are hand-tight.
- Mount not sticking? You can always screw it in for a more permanent hold.
- Diverter not working? Double check that it's clicked all the way into the correct position.
- Water only trickling? Press the button on the tool's handle to cycle through the spray options.
- Need to change spray settings? Use the button to change or pause the spray.
- Want a secure wall mount? Let the mounting adhesive cure for 12 hours before use for best results.
The Delta Faucet Customer Support team is always ready to help if you need it. Visit the Contact Us page to connect with our team.
Related stories.
Impactful Innovation
7 Times You'll Wish You Had a Pot Filler
Impactful Innovation
HydroRain and Other Luxurious Splurges for the Bath

Impactful Innovation
New Year’s Wish List for Making Your Home Smarter